Dependencies
Before starting make sure you have Node.js, Node Package Manager and Yarn installed on you local device.
Creating a Strapi App
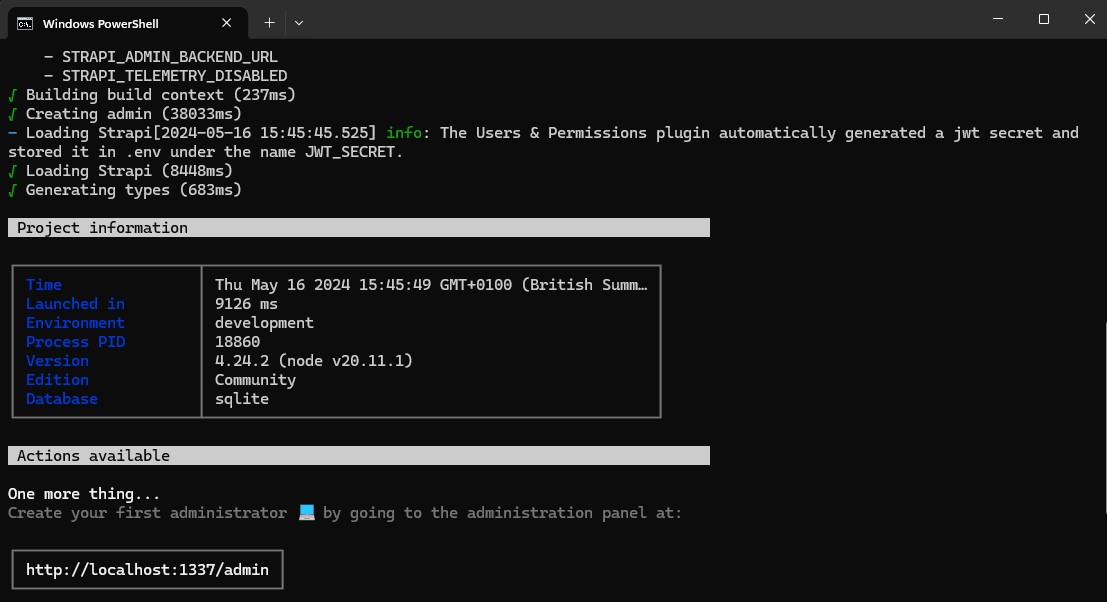
First create a new Strapi project on your machine by running a command in the terminal, and then register a local administrator user.
Replace "my-project" with the desired name of the cms you are creating.
npx create-strapi-app@latest my-project --quickstart
Create a new local Strapi App
Run the command above in the terminal & a new Strapi app will be created on your machine.

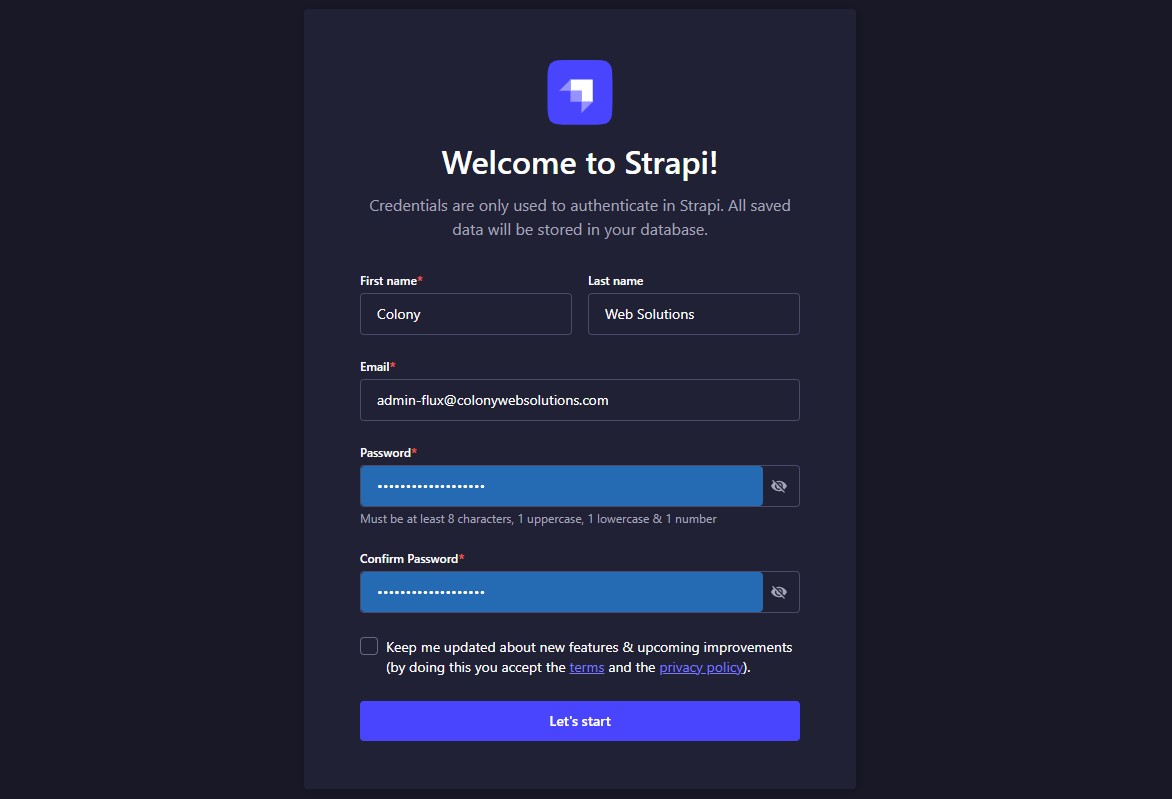
Create a local admin user
The Admin signup screen will launch automatically. Create a new admin user & save the details in 1password.
- First Name: Colony
- Last Name: Web Solutions
- Email: admin-xxxxx@colonywebsolutions.com
- Password: Generated using 1Password

Configure production environment
In the app create a sub-directory ./config/env/production to add a production configuration environment

Using GitHub & Visual Studio
Creating a Shopify store with a theme stored on GitHub provides more options and scope for management than CMS hosting.
The theme can then be edited in Visual Studio Code making use of add-ons such as Shopify Liquid or Shopify Liquid Template Snippets and has better version contrl and rollback ability. This is the standard COLONY approach for managing Shopify stores.
Create a GitHub repository
Create a new blank GitHub repository and clone to your local machine.

Download & add template files
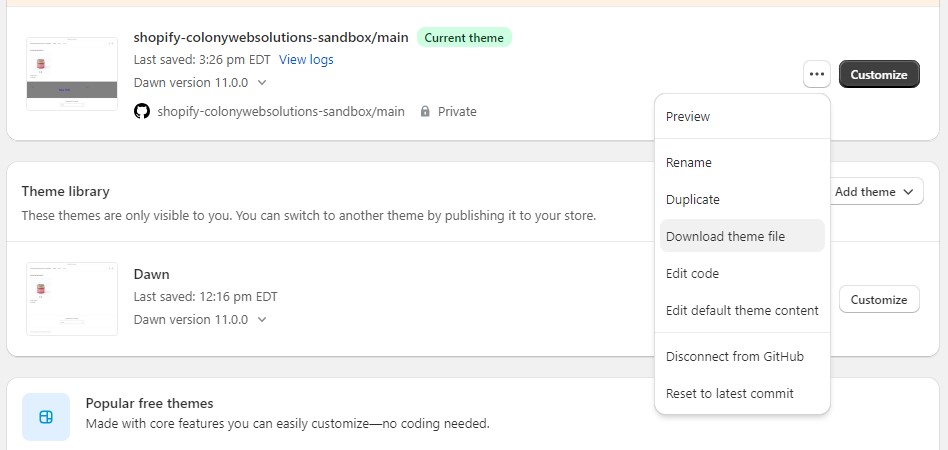
In Shopify select a base theme to work with and then download via Themes > Actions > Download File. This will send an email with a .zip file containing the theme files.
Unzip & add the files to your repo, along with the colony-structure-shopify.css file and then push your changes to GitHub.

Connect GitHub to Shopify
Connect the repository to Shopify via Themes > Theme Library > Add Theme > Connect from GitHub. Authenticate and then choose the appropriate repository to complete the connection.
Theme can now be edited directly in VS code or via the Shopify CMS as required.

